Recently my new found love is baking bread. Bread is such a simple yet a complex thing to bake. But I am not talking about your regular commercial yeast leavened bread. I am talking about the ancient old technique but tastes out of this world bread. The process is long and time consuming. But once you harness it, then the long and time consuming process becomes therapeutic. The results are mind blowing. A slice of bread wont taste the same again. From the bland and no flavor regular loaves that we regularly eat to this wonderful, rustic looking, packed with immense flavors bread is what you will crave everyday. So how do you get this bread – the main ingredient – Sourdough Starter.
Sourdough Starter is a starter with wild yeasts which are already present in the environment. They enter the starter and start producing the wonderful flavors that blow your mind when you eat the bread. I wont go in the scientific reasoning as even I don’t know much about it. But I am learning. I will begin with the most basic know-how. How to start the starter, how to continue feeding it – yes feeding it because it is a living breathing organism that you are giving birth to (well not literally giving birth, but you get the idea). You will have to take care of it every day, well almost.
Here how it goes –
Ingredients –
All purpose Flour
Whole Wheat Flour
Water
Method –
To begin first you need to understand the ratio of the starter which will be constant throughout – 1 : 1
Equal amount of Flour and Water. So if you are taking 100 gms of flour, you mix 100 gms of water. I tend to divide the flour to a ratio of 70:30, between all purpose flour and whole wheat flour. You can go ahead with 100% all purpose flour also. But the whole wheat works for me better. So I take 70 – 75 gms all purpose flour and 30 – 25 gms of whole wheat flour.
Second take a good clean plastic/glass medium to large size container with a lid, which will also fit in your refrigerator.
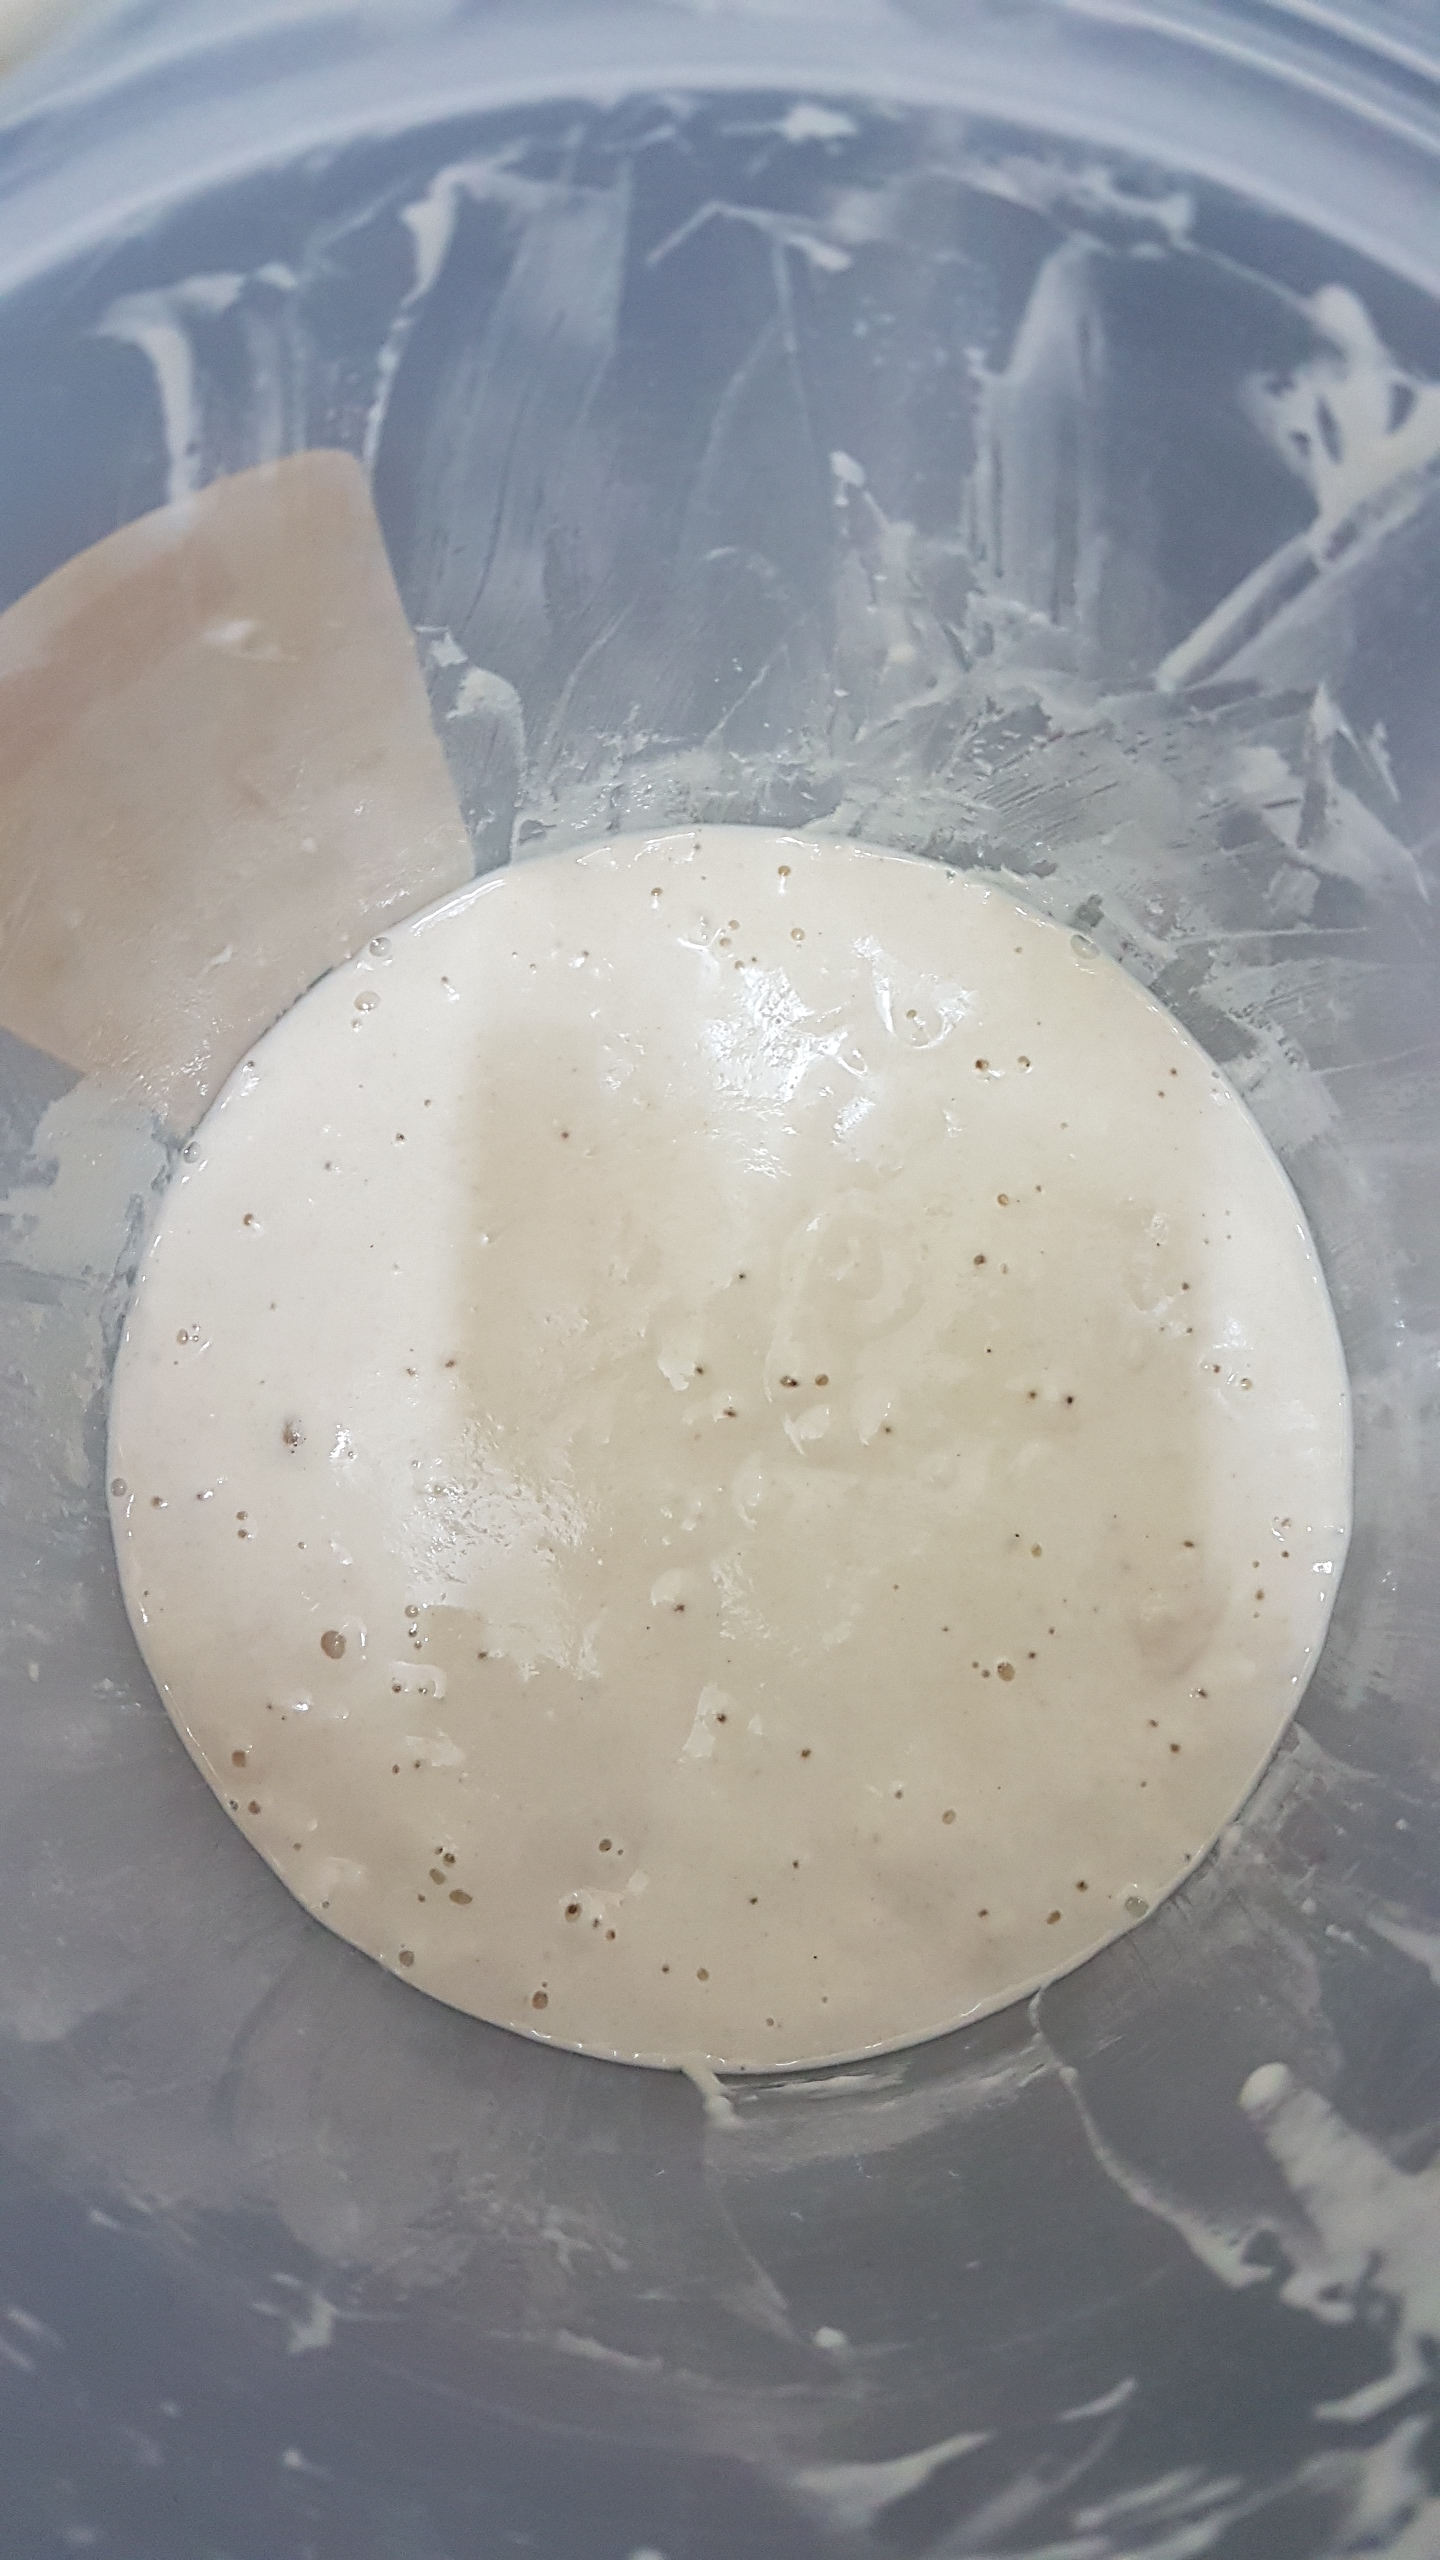
Day 1 – In a bowl you take 100 gms of flour 70:30 all purpose flour : whole wheat flour. Add 100 gms of water. Mix. Cover and leave it aside for 24 – 48 hours at room temperature. Mostly you will see some activity within 24 hours thanks to our Mumbai weather. As the wild yeast start accumulating in the starter, it will show tiny bubbles and will have a vinegar-y smell.
Day 2 – First feed – As the yeast are living organisms, and as all living organisms need food, so you know what needs to be done. Yeast feeds on the sugars in the flour and release carbon dioxide, which makes the starter or dough rise and create beautiful air holes or webs in the bread. If you don’t feed the starter enough, the yeast will die and so will all your efforts. So it is extremely important to feed your starter everyday.
For the Feed – Take the starter and discard 3/4 of it away. Add 100 gms of 70:30 Flour and 100 gms of water and mix, cover, and leave it at room temperature.
Now you will ask why do you discard 3/4 of it away. Because if you don’t, then you will keep feeding 200 gms of flour and water everyday, and then at the end of the week you will have more than a kilo of starter, and end of the month more than 5 kilos. So to keep it in a decent quantity, you discard at least half of the starter every time you feed it.
Day 3 – Feed – Same drill – Discard 3/4 – Add 100 gms of 70:30 Flour and 100 gms of Water. Cover.
Day 4 – Feed.
Day 5 – Feed.
Keep feeding till you notice the starter to double in size in six hours. Then you can use the starter.


How to use the starter – Feed the starter the previous night and use it in the morning. And make sure you have some starter left to continue feeding it.
What to do when you are not using the starter – Feed it, keep it for an hour at room temperature and then leave it in the refrigerator.
Few points here – In cold temperature the yeast becomes dormant. It doesn’t die but the activity levels are really low. You do have to feed it once a week, to make sure it stays alive.
For that you remove it from the refrigerator, after 1 hour, don’t discard the starter just add the feed. Let it do its work. Then from second day onward, discard and feed, leave for an hour and store it again in the refrigerator.
After being dormant, I don’t use the starter immediately. I feed it a few times to get it really active.
Smell –
The smell of your starter is really important.
It will be smelling vinegar-y, alcoholic and probably really bad. Eventually it should subside with regular feedings.
Ideally the starter should smell milky and flowery especially after you feed it. But it should smell the same when you add it to the dough. A little sour smell is fine, cause it is supposed to be a sourdough. But very little.
Feed the starter for at least 10 days before using it. If the temperature is too warm and you see a skin forming on the starter or the smell getting bad. Feed it every 12 hours or maybe more.
For reference please see YouTube videos to get an idea on the process.
I assure you once you start this process, you are going to love it. You will see a whole new side to the bread world that you probably knew existed but being a part of it is a different feeling altogether.
So start your starter and I will post a bread recipe within ten days so you can use it.
Just to let you know my starter is now 6 months old. There is a bakery in USA whose starter is 67 years old. So I hope you understand the commitment you are getting yourself into. Nevertheless if you are an ardent baker especially if you love to bake breads, I think this is something you need to have in your pantry.

One thought on “The Sourdough Starter”